Hey everyone,
I know I said I would try to post soon but my wonderful father-in-law had a massive heart attack while in flight to another state so this week and last week have been very tense and full of ups and downs as one moment we are told he probably won't make it and the next that he has a chance. He had to be medi-flighted (not sure what the correct term is) to a special cardiac hospital so it has also meant a lot of travel for family members, and I've been working on this end to keep our church and family and friends updated on a daily basis so they know how to pray.
We have been SOOO blessed by the outpouring of love and prayer and offers of help from our church here, our homeschool group, and the church from where we moved. Amazing to be part of such a family of believers that surround us with love and care and we are truly grateful for them!
We've seen God answering a LOT of prayer and working in amazing ways - showering us with so much comfort and reminders of love via his children here on earth in the difficult times as well as the joyous. We are blessed to know that whatever the next few days hold, my father-in-law is a born again believer and if the Lord chooses to take him home to heaven, that we will see him again one day when we arrive there as well.
He is in critical care right now but they are preparing to place an LVAD pump in his heart tomorrow - apparently a very long surgery so I am sure it will be a long day in so many ways. A huge thank you to those who have been praying - we appreciate it SOOOO much! :) I will try to update tomorrow on this post.
UPDATE: he has had an immune response to something so the surgery has been postponed.
UPDATE: My FIL had the surgery yesterday and will be stitched up tomorrow barring any further complications - yes that means his chest has been open since yesterday - it is complicated but there were some bleeding issues that had to be resolved first. Now we are waiting for the moment they wake him up early next week to see if he has suffered any brain damage from all of this.
UPDATE: My FIL is responding well now. He is slowly improving - for which we are thankful, but is still in critical condition.
P.S. I do have a blog post about some of the winter stuff we had been doing but it is in mid writing and editing stage and probably won't have as many activities as I had planned since I have cut some of our school stuff back to mainly core items at this time. Just too much going on and we have family now here since they medi-flighted him to that special hospital closer to our home.


Tuesday, January 29, 2013
Friday, January 18, 2013
Le Chef Petite: Snow Bars!
Our theme in school this week has been WINTER! This was a cool dessert we made to go along with that theme. Hope to post more about our thematic good times next week! :)

SNOW
BARS
Ingredients:
1 package of chocolate cookies (any
kind you like - we used chocolate graham crackers)
1 container of vanilla, mint or other
white ice cream or frozen yogurt
1 container of Cool Whip or whipped
topping
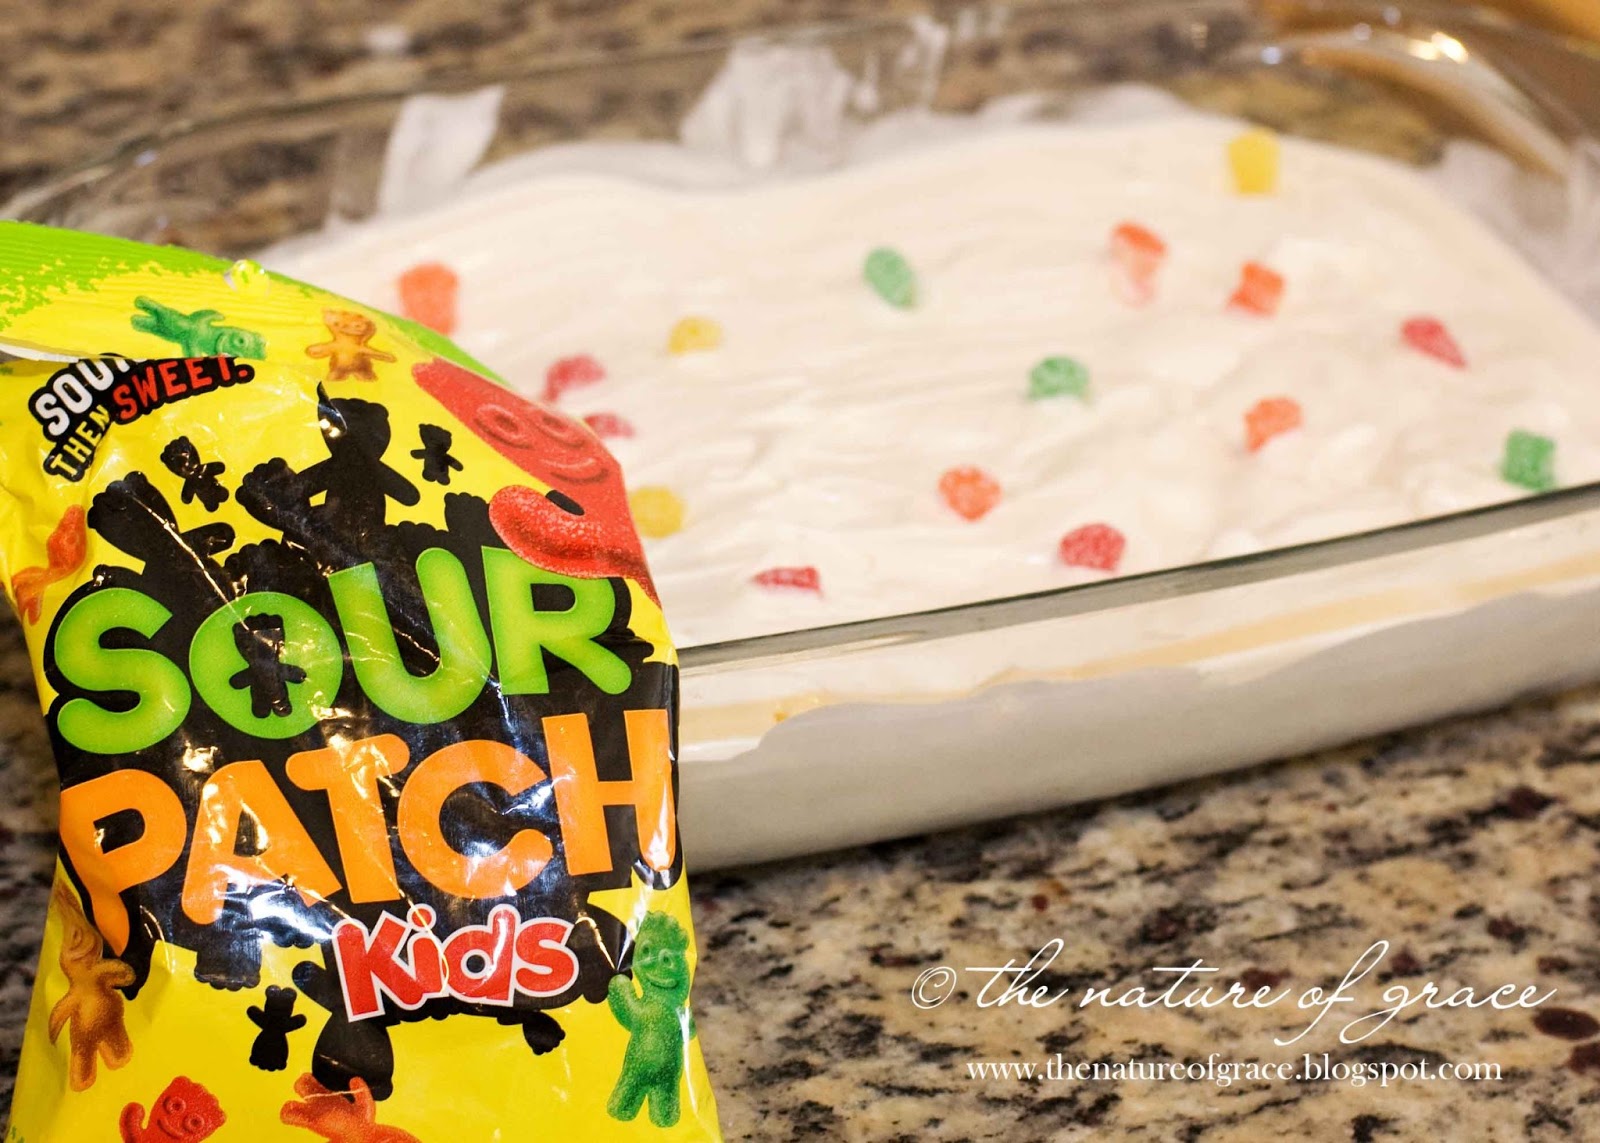
OPTIONAL (see optional steps in directions): winter sprinkles; sour patch kids, gummy bears, or gummy worms.

Directions:
- Set the milk and the Cool Whip on the counter about half an hour before you start so that they are very soft and easy to scoop and spread - you may need to wait even longer than a half hour.
- Place chocolate cookies in a single layer on the bottom of the pan you use (we used a 13x9) to be the ground/"dirt".

- Drop softened or melted ice cream ("snow") onto the layer of cookies and gently spread out to cover the cookies.OPTIONAL STEP: Hide/insert Sour Patch Kids (playing in snow), gummy bears (hibernating), and/or gummy worms (waiting for the spring season to arrive) in the "snow" layer. REMEMBER to warn your kids that these will be hard once frozen so be careful when biting down - if you have very small children, it would be wise to skip the candy for now as it could pose a choking hazard.

- Spread the Cool Whip on top of the ice cream layer making sure to cover any candy so all the kids and/or animals are completely hidden by the snow (part of the fun is finding what is hidden in the snow you are eating later on - see the tiny Sour Patch Kid nestled in the middle of the cut bar above?).OPTIONAL STEP : Add decorative sprinkles to the top of your snow!
- Cover the entire dessert with a freezer safe lid or plastic wrap and foil and place it back in the freezer for at least two hours or more until firm.
- Cut and enjoy!
I don't have a link to the exact sprinkles I used (Betty Crocker Snowflake Mix and Cupcake Gems Perfect Pearls), but I was able to find some snowflake sprinkles on Amazon in case you cannot find the ones I used:

Monday, January 7, 2013
Lesson Theme: Christmas!
Merry (belated) Christmas! :) Hope your holidays were filled with fun and loved ones! :) Here are a few things we did during school before taking a Christmas break...

In our home, we tell our children about the St. Nicholas of old and have chosen to let them know that Santa Claus is pretend like fairies, elves, etc. Kids love to pretend so we have lots of fun with this!
This year I found a pattern online for making a pair of paper clogs - I adjusted my pattern so it would be more the size of my kids' feet (click here for an article on how to make these and the pattern at the bottom of the article). The kids decorated their shoes and laid them out on the eve of St. Nicholas Day along with a letter (what a great time to teach letter writing skills!) Miss A had written to jolly old St. Nick and a platter of festive cookies.
(Speaking of baking, Miss A had lots and lots of time to practice measurement because of all the cookies she helped make this year! Christmas and Valentine's are great times for measurement practice in the kitchen.)
The next morning the children were rewarded with little presents and sweets inside their clogs (or behind) and a letter from "St. Nick". ;)

I found a cute little Santa Claus activity here, and I added in some math addition practice using a few dice. Miss A would roll the dice, add the numbers together and put that many cotton balls on Santa's beard or hat.


Have you ever wondered what the reindeer do the rest of the year to stay in shape? One might imagine they have races across the world! If you are learning about the seven continents - this easy game might just be for you!
I printed out a map of the seven continents (found online or just use a world map of your own) and used some snowflakes (blue and white) for markers. I also purchased two wooden reindeer pieces (I think they were only like $0.30 a piece (?) at Michael's or another craft store) - which my kiddos happily colored.
I placed a blue and a white snowflake marker on each continent (each player was one color). Each player would roll the dice and add the numbers together for a total (yep, more addition in our play). The player would then check our list to see what continent corresponded to that number and remove their snowflake from it signaling that their reindeer had successfully made it to that continent. The first reindeer to collect all their snowflakes (having touched down on each continent) was the winner!
(Side note: if a player rolls a total they have already collected - it is tough cookies - and the reindeer has to wait it out until the next turn before having another chance to leap to a new continent.)


In our home, we tell our children about the St. Nicholas of old and have chosen to let them know that Santa Claus is pretend like fairies, elves, etc. Kids love to pretend so we have lots of fun with this!
This year I found a pattern online for making a pair of paper clogs - I adjusted my pattern so it would be more the size of my kids' feet (click here for an article on how to make these and the pattern at the bottom of the article). The kids decorated their shoes and laid them out on the eve of St. Nicholas Day along with a letter (what a great time to teach letter writing skills!) Miss A had written to jolly old St. Nick and a platter of festive cookies.
(Speaking of baking, Miss A had lots and lots of time to practice measurement because of all the cookies she helped make this year! Christmas and Valentine's are great times for measurement practice in the kitchen.)
The next morning the children were rewarded with little presents and sweets inside their clogs (or behind) and a letter from "St. Nick". ;)

I found a cute little Santa Claus activity here, and I added in some math addition practice using a few dice. Miss A would roll the dice, add the numbers together and put that many cotton balls on Santa's beard or hat.

Where would Santa be without his reindeer, right? We had fun making these silly symmetrical characters by placing globs of brown paint on one side of a folded paper, closing it, rubbing the paint around, and opening it once more to reveal the finished product!

After the reindeer faces had dried we did the same thing with antlers for each one. Finally, we added google eyes, noses and Miss A decided what to name each according to "Twas the Night Before Christmas". (As many of us know, Rudolph was not a part of that story but a pretty important reindeer all on his own, so he deserved a place among our pictures as well).

Have you ever wondered what the reindeer do the rest of the year to stay in shape? One might imagine they have races across the world! If you are learning about the seven continents - this easy game might just be for you!
I printed out a map of the seven continents (found online or just use a world map of your own) and used some snowflakes (blue and white) for markers. I also purchased two wooden reindeer pieces (I think they were only like $0.30 a piece (?) at Michael's or another craft store) - which my kiddos happily colored.
I placed a blue and a white snowflake marker on each continent (each player was one color). Each player would roll the dice and add the numbers together for a total (yep, more addition in our play). The player would then check our list to see what continent corresponded to that number and remove their snowflake from it signaling that their reindeer had successfully made it to that continent. The first reindeer to collect all their snowflakes (having touched down on each continent) was the winner!
(Side note: if a player rolls a total they have already collected - it is tough cookies - and the reindeer has to wait it out until the next turn before having another chance to leap to a new continent.)

We also spent some time practicing spelling words related to the season. This was one activity where I glued some sentence strips together in the shape of a Christmas tree. Miss A would write out her spelling words (we divided them up over more than one day as it could become tedious for young children otherwise) and add "lights" with her markers so the spelling words became strands of lights on the tree.
And what is a Christmas tree without a star on top, right? So we saved that special spelling word for the tip top of the tree, complete with lots of gold glitter! :)
And on that note - here's to a beautiful new year full of the sparkle of learning....
2013 - here we come!!! :)
(As always - if you blog about one of my ideas or activities, please be kind and include a link back here! Thanks so much!)
Subscribe to:
Posts (Atom)